
How To Replace A Starter Motor
Have you come to the conclusion your starter motor is on its last leg? If you want to replace it yourself, you've come to the right spot! Replacing a starter motor is not difficult but does require the right tools and steps for safety. In this article, we'll cover that information and show you how to replace a starter motor on your Toyota car or truck.
Parts and Tools You Will Need
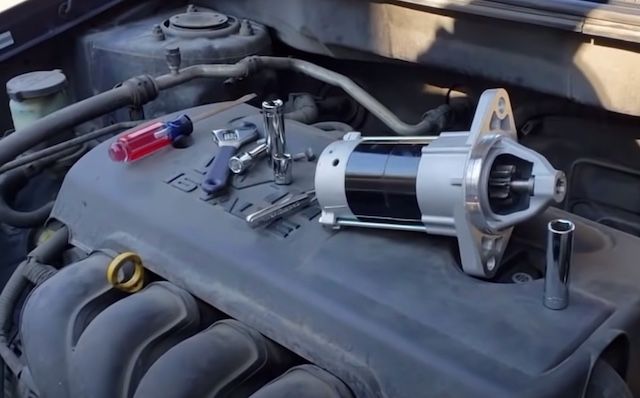
Image Credit: ToddsGarage
Obviously, you'll need a new or remanufactured starter motor for your Toyota car or truck. Additionally, you'll want the following tools:
- Floor jack
- Jack stands
- Wheel chocks
- WD-40 or penetrating lubricant
- Metric socket set
- Metric box/crescent wrenches
- Torque wrench
Steps To Replace a Starter Motor
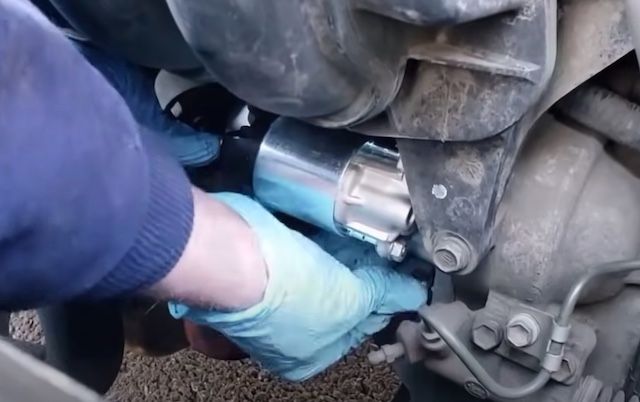
Image Credit: ToddsGarage
To replace a starter motor, follow these steps in order:
- Park your Toyota car or truck on a flat surface, preferably off-street in a garage or driveway.
- Disconnect your battery.
- Place wheel chocks behind the rear wheels.
- Raise the front of the car using a floor jack and place jack stands on each side.
- To avoid damaging your car's body or other parts, check your owner's manual for the correct locations for the jack and jack stands.
- NOTE: You will be under the car, so it is always important to use jack stands for safety. Never work under a car with just a jack for support.
- Remove the wiring from the starter solenoid. Make note of the color and location of the wires because you will need to connect these wires to the new starter solenoid.
- Remove the bolts from the starter mount.
- If the bolts are stuck or rusty, soak them in WD-40 or penetrating oil and let them sit for about 30 minutes. You'll want to be careful removing the bolts so you don't break them off or strip them.
- NOTE: Starters usually weigh about 20 pounds. It's a good idea to have an extra pair of hands to hold it while you remove the bolts.
- Verify the new starter matches the old one. Make sure the bolt holes line up exactly and the starter can be squarely mounted next to the flywheel.
- Transfer any bolts, heat shields, or other parts from the old starter to the new one.
- Mount the new starter and securely tighten it. Make sure the bolts are torqued to the correct spec.
- Reconnect the wires to the starter solenoid. Make sure the positive wire goes to the correct hot location and the negative/ground wire goes to the correct ground location.
- Reconnect the battery.
More Resources
For more resources on maintaining your Toyota car or truck:
- Online apps, including diagnostic tools, can be found at Online Tools And Software
- For information on how to diagnose a bad starter, visit this page.
- To learn more about starters in general, read this post on starter motors.
For more information on your Toyota car or truck, check out our blog for diagnostic/repair procedures and maintenance advice. We also have a free Toyota VIN decoder, diagnostic info for common Toyota trouble codes, and a wide variety of resources just for Toyota and Scion owners.
All OEM starters are backed by the standard Toyota 12-month, unlimited miles warranty.