
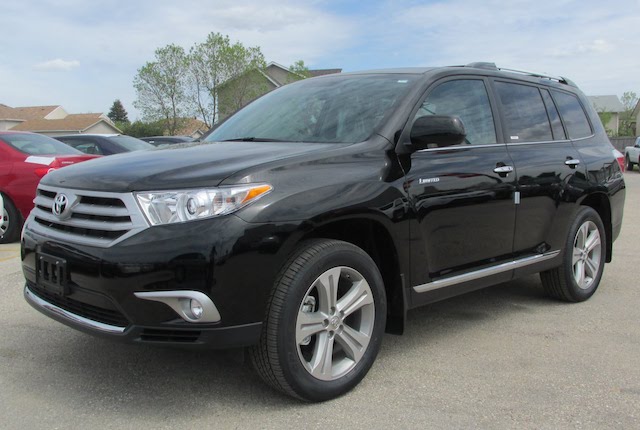
How to Replace Front and Rear Brake Pads in a Highlander
Toyota has phased out drum brakes for the most part. This means that nearly every modern Toyota vehicle has a disc brake setup at all four wheels. Where there’s a disc brake setup, there’s a set of brake pads on each wheel.
What are Brake Pads?
Brake pads are ceramic pads situated on each side of the rotor. Their purpose is to provide enough friction to stop a vehicle in a matter of seconds. They will wear out over time. Once you confirm that your brake pads are worn, you need to replace them as soon as possible.
If you’re a Toyota Highlander owner, this brake pad replacement tutorial is for you. If you own a different Toyota, you can still follow this tutorial or check YouTube for a model-specific brake pad replacement tutorial.
Ordering OEM Toyota Highlander Brake Pads
The first thing you want to do is to order replacement brake pads. We highly recommend getting a set of OEM brake pads instead of aftermarket pads for the reasons listed here.
Luckily, OEM Toyota brake pads are inexpensive if you buy them from us. We offer wholesale pricing for genuine OEM Toyota parts, including brake pads. For example:
- This set of pads (#04465-0E010) for 2010-2018 Highlanders usually costs $65, but you can get it from us for under $50.
- This set of pads (#04466-0E010) for 2014-2018 Highlanders usually costs $67, but you can get it from us for just over $50.
Check out our catalog to find out if we have a set of brake pads for your Highlander (if you don’t find yours in the list above, that is.)
Replacing the Rotors Along With the Brake Pads
You might be wondering if you should replace the rotors too while you’re at it. It’s a great idea, but it’s not always necessary. To find out if you should replace your rotors as well, check out this article.
The Brake Pad Replacement Process
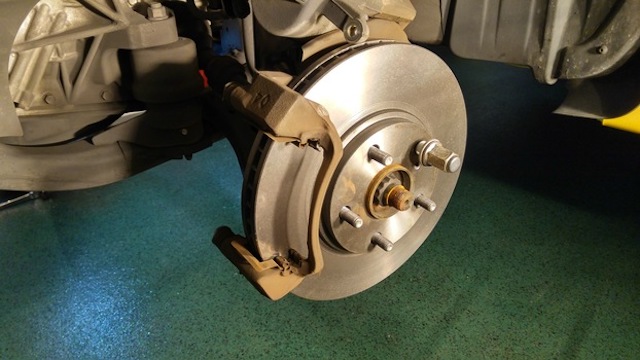
Image Credit: HowTune
Replacing your Highlander’s brake pads can take about 1-4 hours, depending on your level of expertise and whether you’re working on two or four wheels. Here’s how you can do it safely and efficiently at home:
- Engage your parking brake.
- Loosen the lug nuts on the wheel you’re working on.
- Lift or jack up your Highlander safely.
- Remove one of the wheels.
- Remove the sliding bolts on the side of the caliper. Be sure to leave the mounting bolts alone.
- Remove the 12mm bolt holding the brake line mounting bracket in place.
- Pull back the caliper, and you’ll see the brake pads.
- With a flathead screwdriver, gently pry the brake pads out.
- Examine the brake pads to make sure they’re wearing evenly. If they’re not, then there might be a problem with your rotor or caliper.
- With an old toothbrush or rag, brush or wipe away the dust inside the caliper and piston.
- Compress the caliper piston back with a clamp or a caliper compression tool until it’s bottomed out.
- Slide in the new brake pads. There are grooves in the caliper designed to hold the pads in place. Just find these grooves and then push the pads in.
- Lift your caliper back up.
- Wipe down the sliding bolts with a rag and then grease them with brake caliper grease.
- Put the sliding bolts back in and then tighten them.
- Put the 12mm bolt back on the brake line.
- Bolt the wheel back on with the lug nuts.
- Repeat the whole process with the other wheel(s).
Feel free to contact us for assistance with the replacement process or finding the right OEM brake pads for your Highlander.