

Easy Interior Upgrades: How To Replace Your Toyota Center Console Lid
The center console lid - also called an armrest or console armrest cover - takes a serious beating. Between heavy elbows, spilled coffee, and the occasional dog, laptop, or toddler, it is often one of the first interior components to show its age.
If you are tired of resting your arm on cracked vinyl, peeling leather, or a latch that refuses to stay shut, fix it. Replacing the entire center console lid assembly is one of the easiest DIY projects you can tackle. Let's break down why this simple swap will make such a difference in your Toyota's cabin.
What Exactly Is A Lid Assembly?
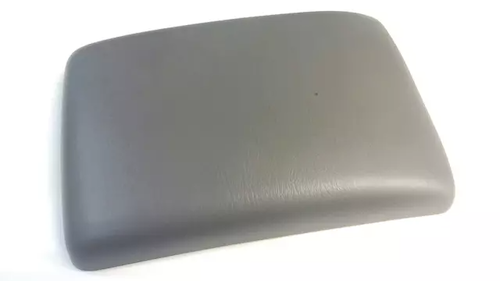
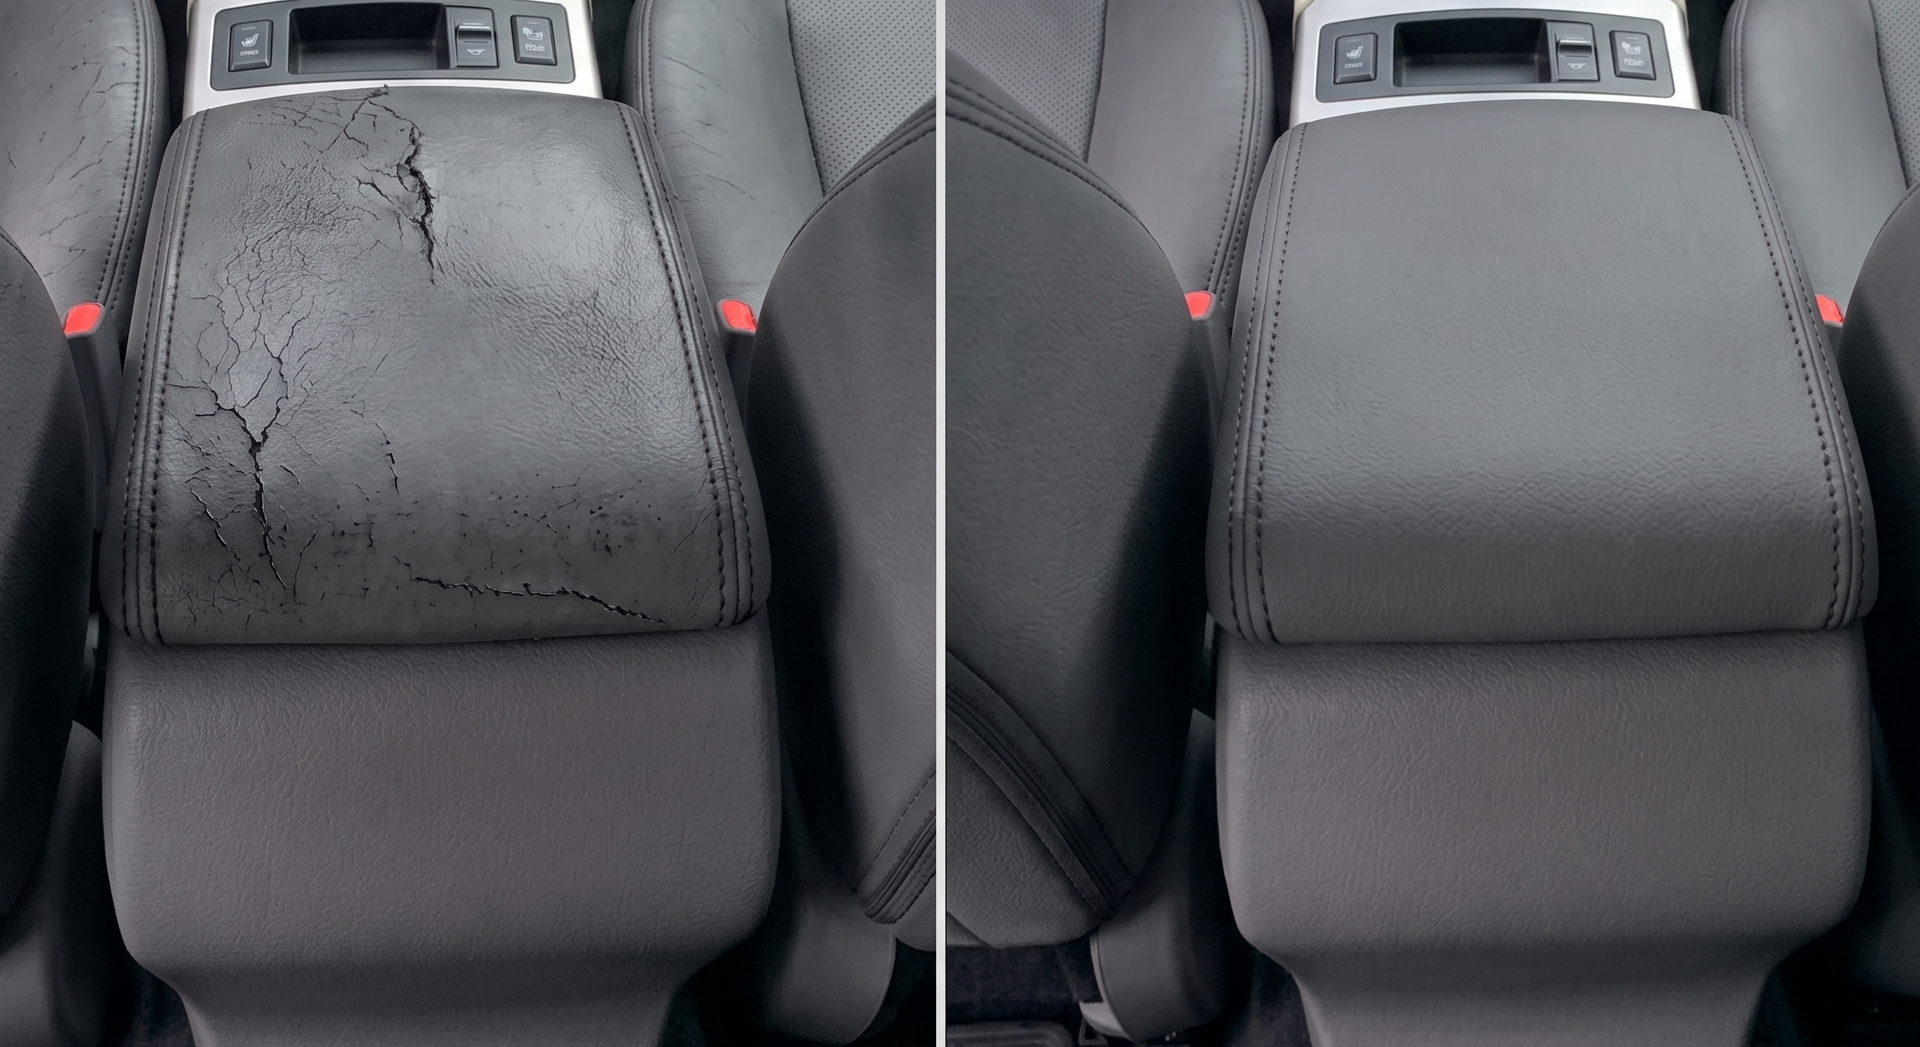
When we talk about fixing your armrest, we aren't talking about messy upholstery glue or re-stitching torn fabric. An OEM Toyota center console lid assembly is the complete, factory-built unit. It includes the padded top cushion, the rigid underlying structural frame, and the integrated latching mechanism.
Toyota owners frequently replace their assemblies for a few common reasons:
- Degraded Padding: The foam padding completely collapses from years of resting your elbow in the exact same spot.
- Cracked or peeling material: Extreme UV exposure and temperature fluctuations cause factory leather or SofTex to split.
- Broken latches: Latch retaining clips snap, leaving the lid bouncing open over every speed bump.
- Accidental damage: Scratches from cargo, pet claws, or stubborn stains that just won't lift.
Replacing the lid assembly means you bypass the headache of rebuilding the lid. You simply swap the old unit for a brand new one.
Can I Replace The Armrest Myself?
Absolutely. You don't need to be an ASE-certified mechanic to pull this one off. Replacing your Toyota's center console lid takes only a few minutes and usually requires nothing more than a standard Phillips-head screwdriver or a basic trim tool. Here is what the process looks like for most Toyota models:
- Open your center console to expose the underside of the lid.
- Locate the mounting screws (usually two to four) connecting the lid to the rear hinge.
- Remove the screws and lift the worn-out lid away from the hinge.
- Align your new OEM Toyota lid assembly with the hinge holes.
- Reinstall and tighten the screws.
Always refer to your owner's manual before beginning if you're unsure about any part of the process.
OEM vs. Aftermarket: Why Genuine Toyota Parts Matter
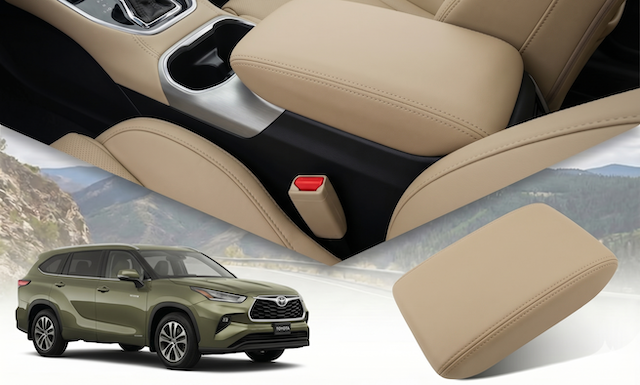
It can be tempting to buy a cheap, slip-on fabric cover or universal-fit lid from an online retailer to hide a damaged armrest. However, if you want to maintain the value and aesthetic of your Toyota, an OEM (Original Equipment Manufacturer) replacement is the only way to go.
Here is a quick look at why Genuine Toyota parts outshine the aftermarket alternatives:
| Feature | Genuine OEM Toyota Assembly | Aftermarket Slip-Covers or Lids |
| Color Match | Matches factory interior codes (e.g., Sand Beige, Graphite). | Generic colors that clash with your specific cabin trim. |
| Fitment | Bolts perfectly to factory hinges with zero gaps or rattling. | Often loose, prone to sliding around, or latching incorrectly. |
| Functionality | Factory-matched latch and hinge operation. | Limited hinge range, poor latching. |
| Durability | Made with factory-grade leather, fabric, or SofTex, built to last. | Thin, cost-driven materials that fade and tear easily. |
Refresh Your Toyota's Interior Today
Your center console is a high-touch area. Upgrading a worn, sticky, or broken armrest makes a massive difference in how much you enjoy sitting in the driver's seat.
Shop our huge online inventory to find the exact factory-matched center console lid for your specific model. Just enter your VIN into our search tool for a guaranteed fit. Put our decades of Toyota parts experience to work for you. Contact our expert team if you have any questions, and get your interior looking factory-fresh again.