

How To Replace A Toyota Water Pump
When it comes to maintaining your Toyota vehicle's engine, the water pump plays a critical role because it is the key component responsible for circulating coolant in your engine. Without it, your vehicle would overheat, causing the engine to break down and ultimately fail.
If your vehicle's water pump is having issues and you're not sure you can replace it, this guide will show you how. The process is essentially the same for any Toyota car, truck, or SUV. We'll break down the steps, list what you need, and provide some helpful tips along the way.
Tools You'll Need
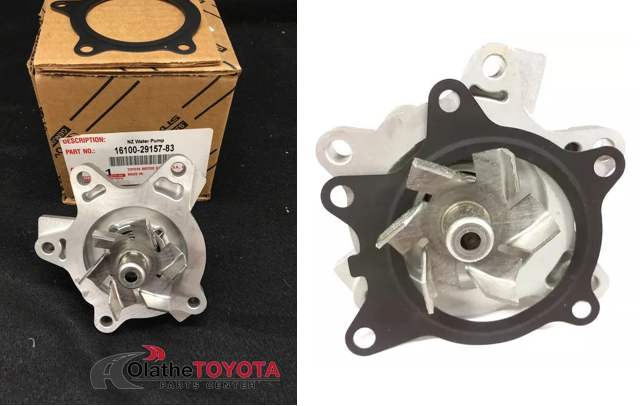
In addition to a new Toyota OEM water pump and gaskets, you'll need the following tools:
- Socket set and wrenches
- Screwdrivers
- Drain pan
- Coolant
- Torque wrench
- Belt tensioner tool
- Putty knife or scraper
- Rubber mallet
- Shop rags
- Mechanic's gloves or nitrile gloves
- Safety goggles
Steps for Replacing the Water Pump
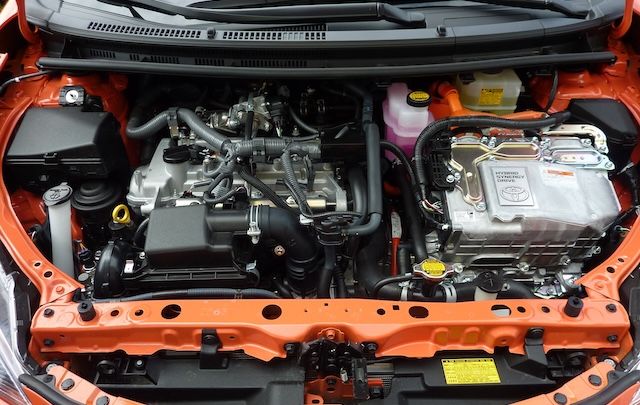
1. Preparation
- Park your Toyota on a level surface, preferably in the driveway or garage. Engage the parking brake, and disconnect the battery.
- Place a drain pan under the radiator, open the drain valve, and allow the coolant to drain.
2. Remove the Old Water Pump
- Use the belt tensioner tool to remove the serpentine belt from the water pump pulley.
- Carefully disconnect the hoses attached to the water pump. There will likely be some residual coolant in the hoses so it's a good idea to move your drain pan under the water pump or have shop rags handy.
- Remove the bolts holding the water pump using the appropriate socket. Keep track of the bolts, as they may be of different lengths.
- Gently pry the water pump away from the engine block. If it's stuck, a few taps with a rubber mallet can help.
3. Install the New Water Pump
- Ensure the mounting surface on the engine block is clean and free of old gasket material. Use a scraper or putty knife if necessary.
- Place the new gasket on the water pump. If you're using a gasket maker, apply a thin, even layer on the mounting surface.
- Carefully place the new water pump onto the engine block, aligning it with the bolt holes. If the water pump assembly also includes the thermostat housing, it's a good idea to replace the thermostat with a new OEM part before reinstalling the pump.
- Install and tighten the bolts by hand to ensure proper alignment. Then, use a torque wrench to tighten them to the manufacturer's recommended specifications.
4. Reassemble
- Attach the hoses to the new water pump and secure them with clamps. This is also an excellent time to replace the radiator hoses if they are old or showing signs of wear.
- Use the belt tensioner tool to reinstall the drive belt onto the water pump pulley.
- Close the radiator drain valve and refill the cooling system with the recommended type and amount of coolant.
5. Final Checks
- Reconnect the battery.
- Start the engine and let it run for a few minutes. Then check for any leaks around the water pump and hoses.
- While the engine is running, keep an eye on the temperature gauge to ensure it's operating within the normal range.
OEM Water Pumps From Olathe Toyota Parts Center
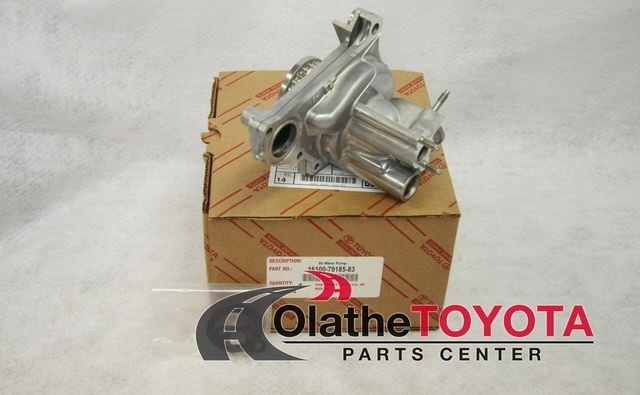
If you need to replace the water pump on your Toyota car, truck, or SUV, your best source is the Olathe Toyota Parts Center. We carry OEM parts at wholesale prices that are backed by a standard Toyota 12-month, unlimited-mile warranty.
We also have a number of free resources that can help you diagnose common Toyota trouble codes and a Toyota VIN decoder to provide info about your vehicle. Got questions? Contact us, and our friendly staff will be glad to help!