
How To Replace A Toyota Hybrid Battery Fan Filter
Hybrid vehicles have fans to cool their battery packs. The fans need filters to keep out dirt and grime. Like any filter in your vehicle, these need to be replaced or cleaned regularly.
Not every Toyota model has their fan filter in the same place, but once you know where it is, replacing or cleaning it is easy. In this blog, we show you how to do it.
Why Replace Your Hybrid Battery Fan Filter

Image Credit: CarCareNut
Your hybrid battery works best when it’s kept at the correct temperature. The hybrid fan sucks air from the cabin over the battery pack to do this. If the filter gets clogged, the fan won’t be able to move enough air to cool the battery effectively.
Replacing or cleaning your hybrid battery fan filter prevents the battery pack from overheating. And extends its lifespan. For more information on what can happen when you don’t replace your fan filter, read our ‘Common Hybrid Battery Fan Filter Problems’ blog. (Please insert a link to this blog here)
How To Replace The Filter On A 2016-2018 Toyota RAV4
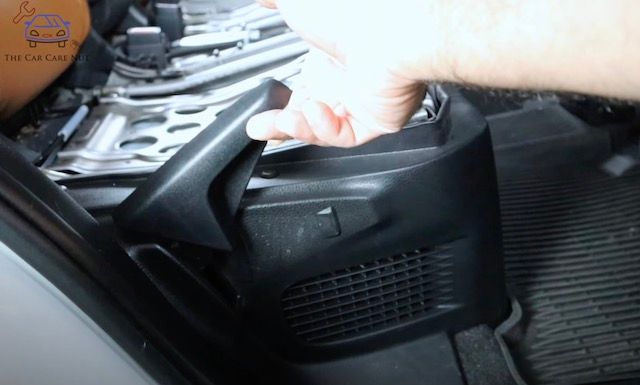
Image Credit: CarCareNut
Every hybrid Toyota has at least one fan filter, usually located in the cabin. Some are in the base of the front or rear seats, and others are situated in the footwells. Replacing them can be very simple – like the 2010-2015 Toyota Prius – or a bit more involved – like the 2007 – 2011 Toyota Camry.
Falling somewhere in the middle is the filter replacement process for the 2016-2018 Toyota RAV4 Hybrid. These models have two filters, one on each side of the rear seat bases. The only tools you will need are either a narrow flathead screwdriver or a 90-degree pick.
There are no official recommended filter change intervals. But it is best to check the filters every few months for problems or to see if they are dirty.
Here is a step-by-step guide on how to replace the fan filter for this model:
- Recline the rear backrest. Then remove the rear seat cushion by pulling underneath the base on either side.
- Remove the two plastic handles that control the backrest angle. To do this, you will need to pull them up and use a 90-degree pick or flat screwdriver to unclip them and slide them out.
- Remove the two retaining clips holding the plastic trim piece on either side of the seat. You can use the pick or screwdriver for this.
- Pop the plastic sill plate out on either side of the car. You can do this by pulling it upwards at both ends.
- The plastic panel can now be removed.
- The filter is clipped into these plastic panels. If it is badly blocked or damaged, you can replace it with an OEM fan filter. If it is just dirty, then you can vacuum it until the element is completely clean.
- Follow steps 5-1 in reverse order once the fan filter has been replaced or cleaned.
All the above Toyota models and many more are listed on the Car Care Nut YouTube channel. Check it out for some more helpful hints on hybrid fan filter replacement.
Replace or Clean?
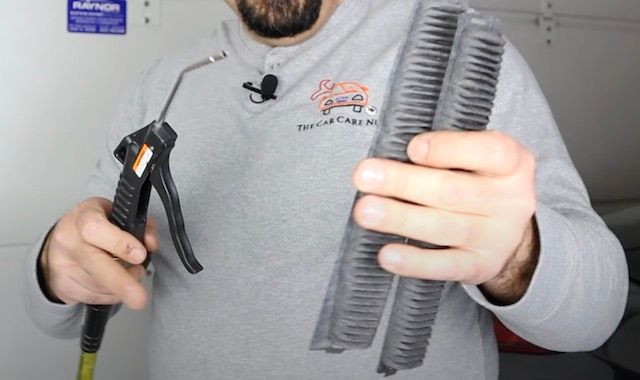
Image Credit: CarCareNut
Filters can be cleaned by either vacuuming them or using compressed air. When using compressed air, turn down the air pressure. Too much can damage the filter. If vacuuming, then suck the dirt and grit out from the intake side of the filter.
If the filter itself is damaged, cracked, or broken, it needs to be replaced. If the filter is still dirty after you have attempted to clean it, then a replacement is also recommended.
Olathe Toyota Parts Center Has OEM Hybrid Fan Filters
If you need to replace your fan filter, make sure you always use an OEM part. A Toyota 12-month, unlimited mileage warranty backs every OEM part supplied by Olathe Toyota Parts Center. Your filter is guaranteed to fit perfectly. And it will meet all manufacturer standards.
Use our Toyota VIN decoder to find the right part the first time. Our stock is available at wholesale prices with same-day shipping. Call us at 1-888-596-1970 or contact us online today.