

How To Repair Or Replace Your Toyota Sun Visor
Few things are as frustrating as a sun visor that unexpectedly flops down in front of your face while driving. A minor annoyance can quickly become a serious safety hazard when a drooping visor obstructs the line of sight in your Tacoma, Camry, or 4Runner.
Interior components are exposed to daily use and relentless UV rays - they will eventually start to show their age. Let's cover some common sun visor issues, help you decide whether to repair or replace your sun visor, explain why genuine parts are non-negotiable, and show you how to swap out your visor like a pro.
Signs Your Toyota Sun Visor Needs Attention
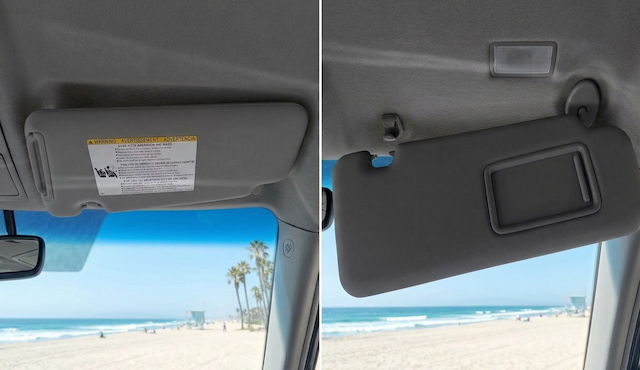
Sun visors are your first line of defense against blinding glare. They are designed for both comfort and safety, and when they fail, you’ll notice immediately. Decades of heavy use, extreme cabin temps, and direct sun exposure can cause several common issues:
- The Notorious Droop: The internal clips or springs wear out, causing the visor to fall into your field of vision over every bump.
- Cracked or Broken Clips: The small plastic retainer hook near the rearview mirror snaps, leaving the visor hanging from one side.
- Electrical Failures: The integrated vanity mirror light stops working, even after a bulb change, due to wiring wear inside the hinge.
- Cosmetic Degradation: The fabric or vinyl covering becomes faded, brittle, or begins to unglue due to extreme UV exposure.
- Shattered Vanity Mirrors: The glass mirror cracks from impact or extreme temperature fluctuations.
Should You Fix It or Swap It?
Depending on what exactly has failed, you might be able to get away with a quick repair instead of buying a whole new assembly.
When to Repair
If the main body of your visor still holds its position perfectly and looks great, you can likely just replace the smaller components. Retaining clips, vanity light bulbs, and sometimes the mirror covers can be purchased individually. Swapping a broken plastic clip is a five-minute job that costs very little but restores your visor's functionality instantly.
When to Replace
If your visor is suffering from the dreaded droop, the internal mechanism is compromised. Unfortunately, you cannot crack the visor open to fix the internal springs without destroying the outer upholstery. You should opt for a complete replacement if:
- The visor won't stay securely pinned against the headliner.
- The board is warped, water-damaged, or heavily faded.
- The internal wiring for the vanity light is severed at the hinge.
The OEM Advantage: Why Genuine Toyota Parts Win
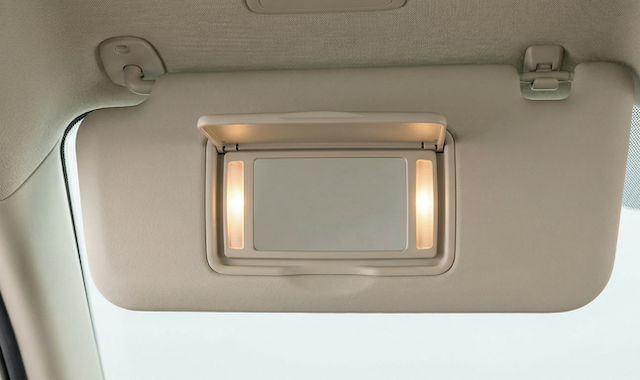
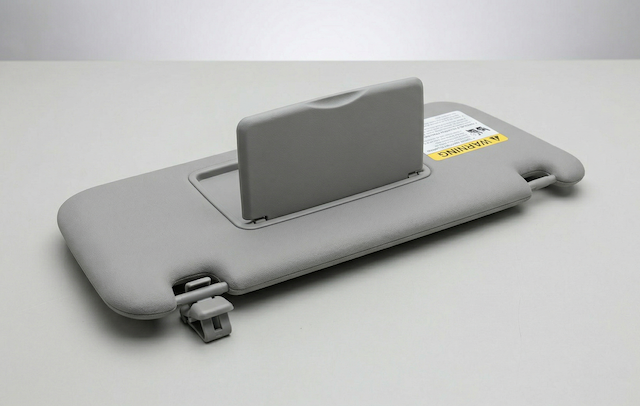
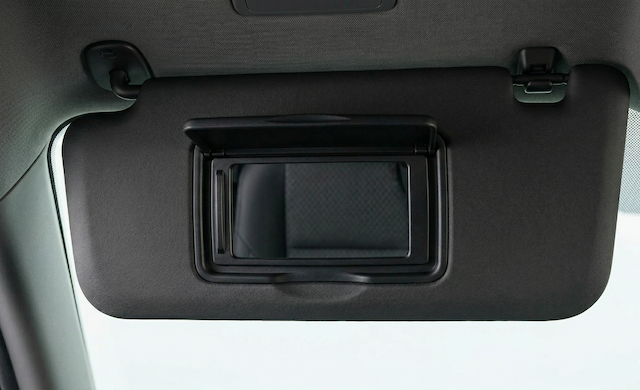
When it’s time to replace your visor, you might be tempted by cheap aftermarket options on massive online marketplaces. However, choosing an OEM (Original Equipment Manufacturer) Toyota sun visor is always the smartest route.
- Flawless Color Matching: Toyota interiors use highly specific color palettes (like Ash, Bisque, or Ivory). Aftermarket visors usually come in universal gray or tan, which sticks out like a sore thumb against your headliner.
- Perfect Fitment: OEM visors are engineered to the exact specifications of your specific VIN. The mounting holes will line up perfectly, and the electrical connectors for the vanity lights will click right into place.
- UV Resistance and Durability: Genuine Toyota materials are rigorously tested to withstand years of direct sunlight without fading or becoming brittle.
- Safety Standards: An OEM visor will hold securely in the up position, keeping your line of sight clear and safe. Additionally, the OE wiring (if any) will be recognized and communicate correctly - no blown fuses or flickering connections.
A Quick Guide To Replacing Your Toyota Sun Visor
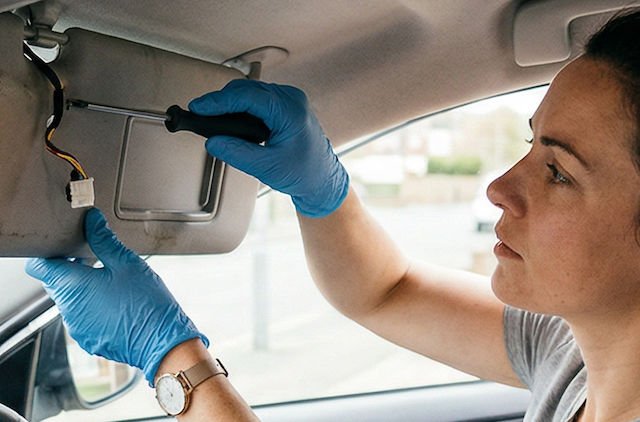
Replacing a sun visor is an easy, beginner-friendly DIY project that requires minimal tools - usually just a Phillips screwdriver, a Torx bit, or a plastic trim pry tool.
- Locate the Mounting Hardware: Check the main pivot arm of the visor. You will typically find one or two screws hidden behind a small plastic cover.
- Remove the Screws: Carefully pry off the cosmetic cover and unscrew the mounting hardware.
- Disconnect the Wiring: If your Toyota has lighted vanity mirrors, gently pull the visor down from the headliner to expose the wiring harness. Unclip the electrical connector.
- Install the New Visor: Plug the wiring harness into your new OEM visor, push the base back into the headliner, and secure it with the screws. Snap the cosmetic cover back in place.
- Test: Fold the visor up and down, unclip it to swing it to the side window, and check the vanity light to ensure everything works flawlessly.
Tip: Always verify the exact procedure for your specific model and year, as mounting styles can vary slightly between a Tundra and a Corolla!
Ready To Restore Your Toyota Interior?
Don't let a floppy or broken sun visor ruin your driving experience. Maintain the value, safety, and look of your Toyota by choosing genuine OEM components.
Shop with us today to find the exact, factory-matched sun visor for your specific model using our accurate VIN lookup tool. We have decades of online sales experience, and every OEM sun visor we sell is backed by Toyota's trusted warranty. Contact us if you have questions - our staff is always ready to help.