
4Runner TRD Pro Grille Swap and Install Info
Looking to make your 4Runner look more like a TRD? One of the easiest ways to accomplish this is to upgrade to a TRD emblem garnish on your 4Runner. It’s an easy bolt-on solution that changes your 4Runner’s attitude.
What is a TRD Emblem Garnish?
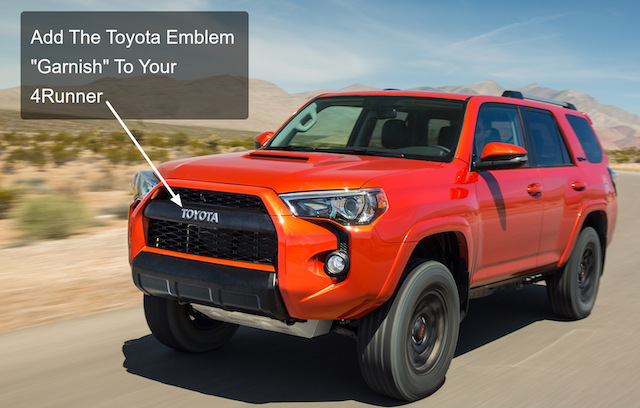
Upgrade your 4Runner with PZ323-35056 - the "Garnish" Toyota emblem.
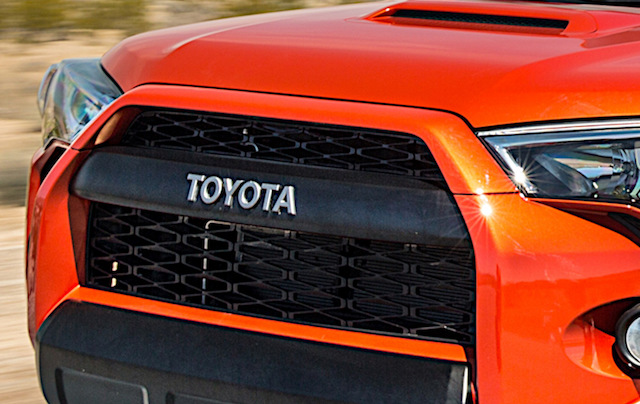
Here's a closer look at the garnish itself.
To put it quite simply, a TRD emblem garnish is a long black trim piece that has the letters “Toyota” on it. If your 4Runner has a garnish with the Toyota logo on it, you can swap it out for a TRD emblem garnish.
Installing a TRD emblem garnish is a popular upgrade because it's more affordable than a whole new grille and it makes your 4Runner look even better. This emblem garnish is a throwback to the old school Toyota emblem, and it brings some of the historic Toyota legacy to your 4Runner.
Some 4Runner owners get an upper grille insert (part #PZ327-35053) to change the appearance even further, but it's not necessary.
Finding a Genuine OEM TRD Emblem Garnish at Rock Bottom Pricing
You don't have to visit your nearest Toyota dealership to find a genuine OEM TRD emblem garnish. You can actually order one online at a much lower price. Take our website, for instance. We're authorized sellers of genuine OEM Toyota parts, and we offer steep discounts for TRD emblem garnishes. This emblem garnish is made for 2017-2019 4Runners, and it's available for over $140 less than the price you would get for the exact same part at a dealership.
Swapping to a TRD Emblem Garnish
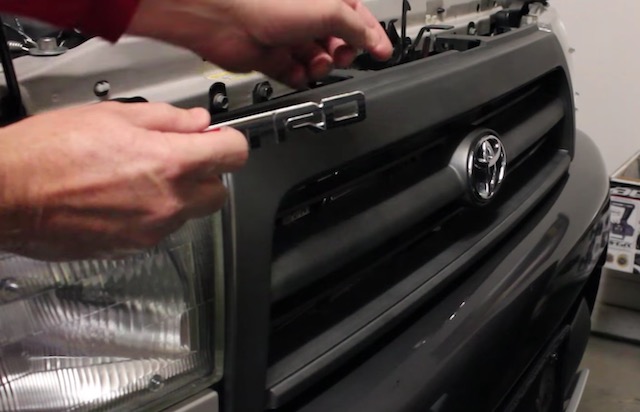
Image Credit: redonKiLaus
Swapping to a TRD emblem garnish is a project you can definitely do yourself at home. Here's how the process goes:
- Open the hood.
- If the old garnish is still there, you will have to remove it. Basically, glue is holding it on. To make removal easy, use a heat gun. Start at one end to the other.
- If there is adhesive left over from the old glue, be sure to remove with adhesive remover.
- To protect your paint or headlights. use masking tape to cover the areas just outside of the ends of the garnish.
- Thoroughly clean the area, and then go over it again with alcohol. Do not touch the area afterwards.
- Take the new garnish. Be sure not to remove the blue masking tape in front of the garnish. Always remove it when the garnish is applied. This helps minimize scratches during the installation process.
- Align the ribs that are on the back of the garnish with the logo to center it.
- Remove the adhesive tape on the back of the garnish and then line it up with the grille.
- Press the garnish on and then apply pressure for a while to ensure that it sticks.
- Remove the blue masking tape and the rest of the masking tape on the headlights and other areas.
That's all! If you have any questions about the installation process, you're more than welcome to get in touch with us here.
Written by Jason Lancaster