
Toyota Sequoia Maintenace - Headlight Bulb/Assembly Replacement
Are your headlights working properly on your Toyota Sequoia? Is one out or do you need a new headlight assembly? Here is a handy guide on how you do it.

Replacing the headlight bulbs on your Toyota Sequoia is a simple process. Not quite as challenging as going off-road.
Replace The Headlight
Looking at the headlight assembly, you will find a rubber gasket at the rear of the headlight. Remove this gasket (it is a humidity seal) and you will find a wire holding the rear of the bulb in place. By pinching this wire, you will be able to release the bulb. Replace it with a new bulb without touching the bulb with your fingers. The oil in your skin can reduce the lifespan of the bulb. Then, replace the wire and the rubber gasket.

Replace the Headlight Assembly
In order to replace the assembly, you will need to locate several bolts holding the assembly in place.
Follow these steps:
- Remove all the bolts along the top of the assembly.
- In most model years, there is a bolt along the side that needs to be removed.
- Lastly, there is usually a bolt below the assembly. Depending on the model year and your reach, you will need to move the blinker assembly out of the way.
- After removing these bolts, the headlight assembly should be free.
- Remove the assembly and replace it with a new one. Then, reverse the process above to finish the job.
Properly working headlights without cracks, yellowed out lights, or scratches is important to seeing properly in all light conditions. By following the instructions above, you should have a brand new headlight assembly and/or new headlight bulbs.
Related Posts
-
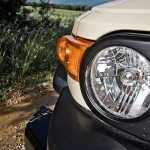 Toyota FJ Cruiser Maintenance – Headlight Bulb Change And Assembly Removal
 -
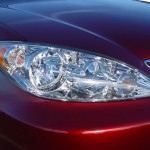 2002-06 Toyota Camry Maintenance – How To Change Headlight Bulb/Assembly
 -
 Toyota Sequoia Maintenance – Replace Brake Pads
 -
 Toyota Sequoia Power Window Failure Guide
 -
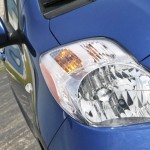 Toyota Yaris Maintenace: Headlight And Taillight Replacement
 -
 The New Standard Features Of The 2010 Toyota Sequoia


